The other day, I saw a mastodon post by Jakub Steiner (jimmac), a seasoned artist whom I well respect, about a site he’s made to house his collection of arts. The website is hosted at https://art.jimmac.eu/ and I encourage you to visit the website to see the art for yourself.
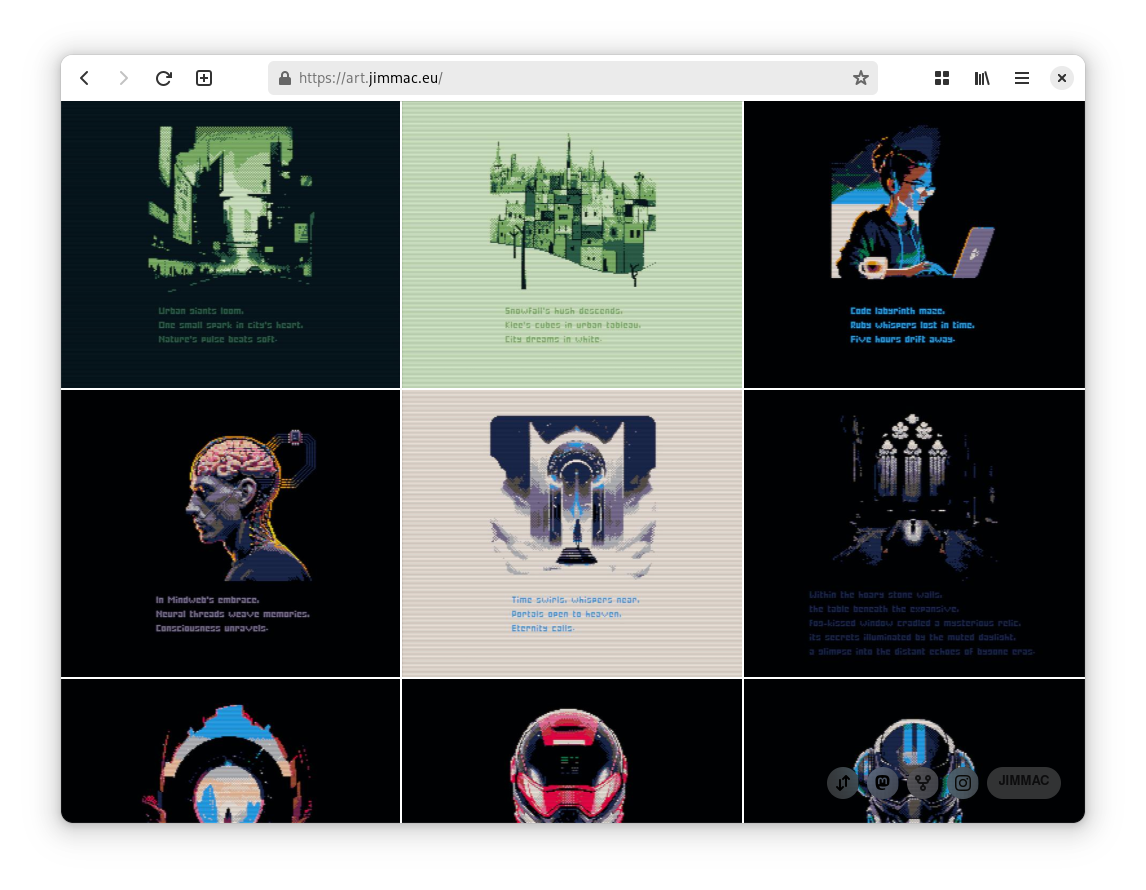
While I’m fascinated by the art, I was even more fascinated by the website itself. It’s a very minimalistic single-page app that shows a stream (grid) of images and allows you to click on each image to see it in full size. It’s beautiful, and I’ve always been looking for a way to make something similar for myself, basically a way to show off a few of my photos.
source code
I learnt that Jakub has another similar site for his photos, https://photo.jimmac.eu/, and decided to check out the source code.
While checking out the implementation, I saw that the website(s) themselves are forked versions of photo-stream, a “home for your photos” initially created by maxvoltar.
photo-stream
photo-stream is a git repository that contains a jekyll site that shows the photos in a predefined location inside the git repo.
I was not the best fan of this approach, as I don’t really like using git for non-code stuff (in this case images), as git repositories can get quite large if you put too many binaries in them. It was hence not a good fit for me, as where I live bandwidth is not cheap nor fast.
Hence, I decided a more sane and ingenious solution would be to utilise images stored somewhere else, and just show them in a nice format like Jakub’s site.
vsco
I already have a VSCO account, and I’ve been using it as a more sane alternative to my Instagram, which is private. Basically I put images on VSCO that I want to be public, like landscapes or just random photos I take.
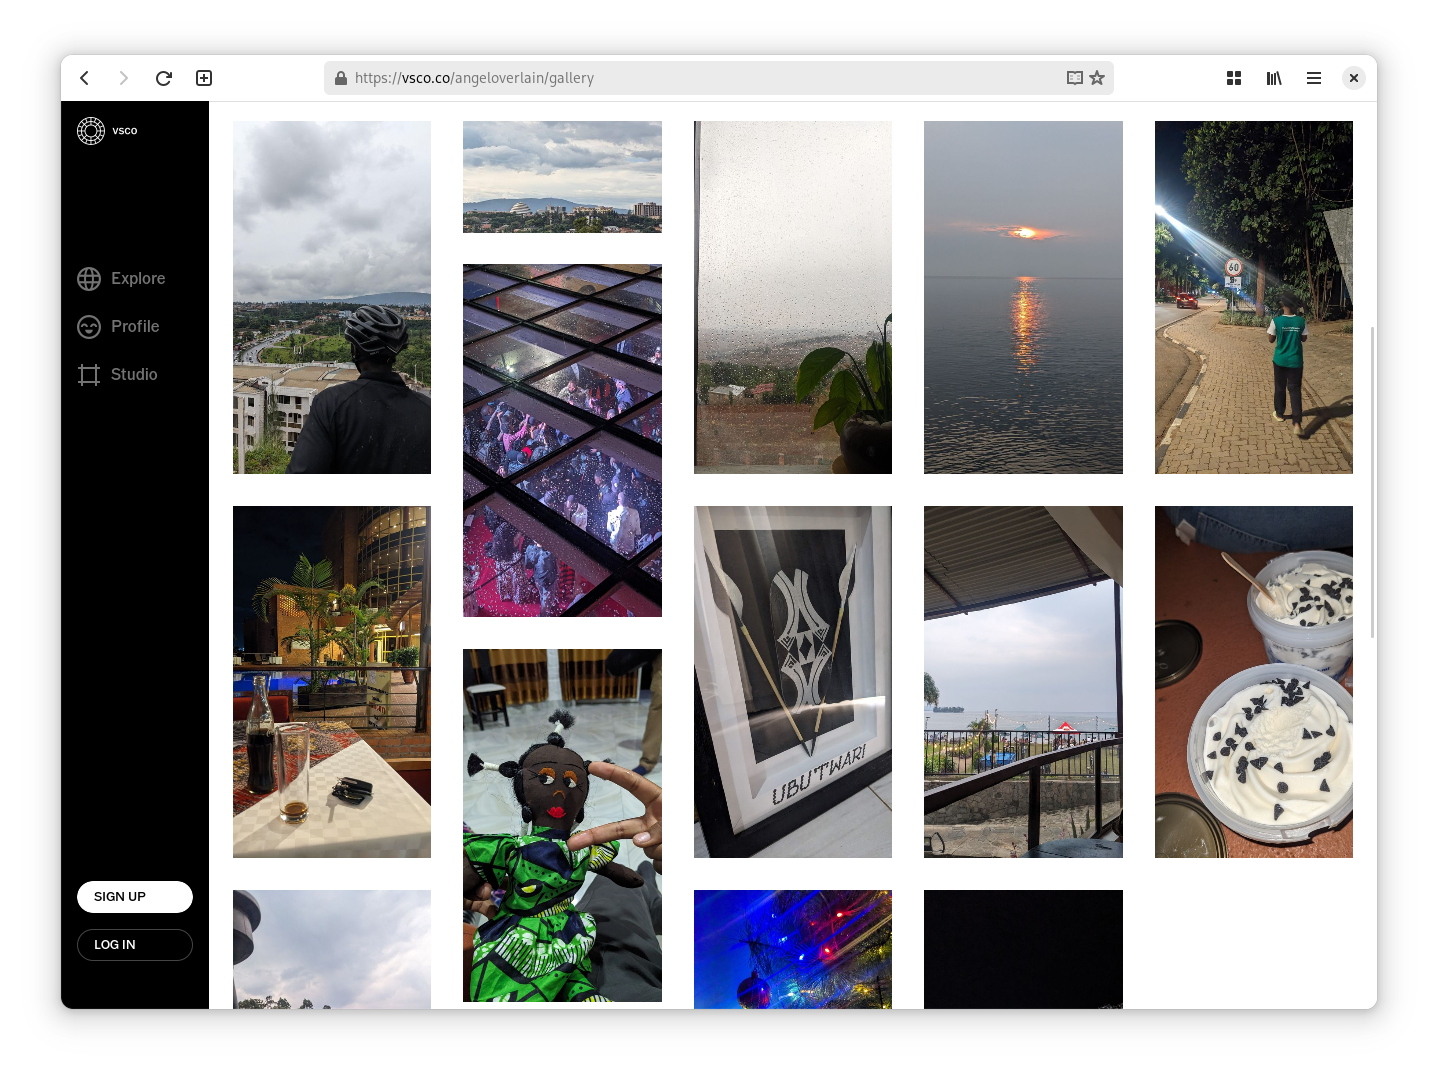
So I thought it would be a nice idea to use VSCO as a source of images for my photostream, instead of relying on a git-based workflow. This means that I can simply upload an image to my VSCO using the mobile app, and it will be instantly visible on my photostream.
It’s important to note that in this case, VSCO is just an implementation detail, as I initially wanted to a less proprietary solution, like pixelfed, but I didn’t have the time to explore the ecosystem and set it up, so I just went with VSCO (at the moment).
However, VSCO doesn’t have an API, but since the website is a webapp and makes requests client-side, I can just inspect the network requests and see how the website gets the images.
reverse engineering
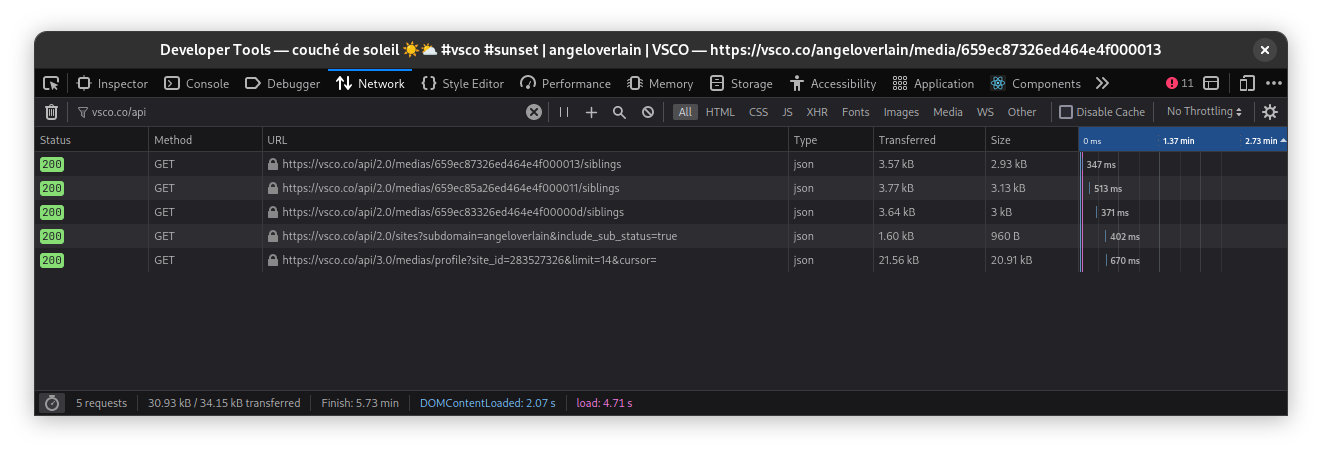
So now let’s invoke the developer tools and look at how VSCO gets that crispy data about the images.
The website is a SSR webapp and that means it initally loads the pages (for example, the user profile) are initially generated by the server and returned as HTML. This means getting data from VSCO would require scraping the HTML and parsing it, which is not a very good idea.
However, we are lucky. If you then navigate to another page (say you click on an image), the website doesn’t reload the page, but it makes a data client side request to an internal API which returns the data in JSON format. This means that we can get data for a user’s profile by first making a request to a user’s photo page (which is returned as HTML), and then clicking on the user’s username to get the JSON data.
Using this method, it was easy to know some of the endpoints that the VSCO API provides.
vsco’s API
By clicking around VSCO’s website, you will see it making a view requests to it’s API, and that’s how I discovered a few of the endpoints needed to get the data I wanted.
Here are the details I found about VSCO’s API:
base URL
The base URL for the API is https://vsco.co/api.
versions
When you inspect the requests, you will see that the API is versioned. There are
2 versions in use concurrently at the time of writing this article: v2 and
v3. The 2 VSCO APIs seem to coexist and are both utilised by VSCO, buy they
are incompatible. This means that some resources are only visible in v2 and
some are only visible in v3.
It’s very weird that VSCO uses 2 versions of the API at the same time, but it’s what they do, and we have to deal with it.
authentication
If you try to make a request to the API normally, the API will deny you access
and return a response with a 401 status code. This means that we need to
authenticate (or identify) ourselves to the API.
Luckily, VSCO uses a simple token authentication scheme (also known as a bearer authentication). All the (web)apps need to do to gain access to the API is to include a special “token” that identifies them to the server.
Normally, other APIs use something more sophisticated, like OAuth to make sure each user has their own “token” or tokens, but VSCO doesn’t do that and keeps the granularity of the tokens to the app level.
To provide the token, the apps provide a standard
Authorization header in the request body. The header the
auth-scheme of Bearer. This means that the full header looks like the
following:
Authorization: Bearer <token>Note that the <token> is a placeholder for the actual token, and for the
purposes of this article, I will not be showing the actual token used, although
you can easily get it by inspecting the requests made by the
VSCO website or the VSCO Studio.
Some good news is that v2 and v3 both use the same token, so we don’t have
manage multiple tokens.
endpoints
After identifying how to connect to the API, I started looking at the endpoints and the kind of data they return.
/2.0/sites?subdomain=<username>
This endpoint returns the data about a user’s profile. The subdomain query is
used to identify the user. For example, if you want to get the data for the user
vsco, you would make a request to /2.0/sites?subdomain=vsco.
The data returned by this endpoint is a bit too verbose, but there is really one
field you need, which is the id field. This field is used to identify the user
in other endpoints.
{
  "sites": [
    {
      // other fields hidden for brevity
      "description": "",
      "domain": "vsco.co/vsco",
      "externalLink": "",
      "name": "VSCO",
      "subdomain": "vsco",
      "id": 113950 // <-- this is the site id
    }
  ]
}
/3.0/medias/profile?site_id=283527326&limit=14&cursor=
This endpoint returns the data about a user’s photos. This endpoint has a few query parameters:
site_idis the required user id of the user you want to get the photos of. This is theidfield from the previous endpoint.limitis the optional number of photos to return. The default is10, and the maximum is30.cursoris the optional cursor to use to get the next page of photos. This is used for pagination, and is not needed for the first page.
The data returned by this endpoint is a bit too verbose, and I invite you to try it for yourself to get a complete response but here is a sample:
{
  "media": [
    {
      "type": "image",
      "image": {
        // some fields are hidden for brevity
        "_id": "IDOFIMG",
        "grid_name": "vsco",
        "adaptive_base": "/i/IDOFIMG",
        "site_id": 283527326,
        "site_profile_image_url": "i.vsco.co/IDOFIMG",
        "description": "",
        "description_anchored": "",
        "capture_date": 1705541060652,
        "capture_date_ms": 1705541060652,
        "upload_date": 1705541060652,
        "last_updated": 1705541060652,
        "permalink": "http://vsco.co/vsco/media/id",
        "share_link": "http://vsco.co/vsco/media/id?share=tracking",
        "responsive_url": "im.vsco.co/aws-us-west-2/blurb/etc/id/not-real.jpg",
        "image_meta": {
          "aperture": 0,
          "copyright": "Copyright 2024. All rights reserved.",
          "flash_mode": "Off, Did not fire",
          "iso": 0,
          "make": "Sony",
          "model": "ZV E-1",
          "shutter_speed": "128/100000",
          "white_balance": "Auto",
          "orientation": 1,
          "capture_date": 1705541060652,
          "flash_value": 10,
          "file_size": 1010000,
          "file_hash": "hash"
        },
        "height": 1000,
        "width": 100
      }
    },
    {
      // ... another image
    },
    {
      // ... yet another image
    }
  ],
  "next_cursor": "use-this-to-get-the-next-page-of-results"
}
I know that’s a lot of data, but we only need a few fields from each media
object:
image._idis the id of the image. This is used to identify each image uniquely.image.responsive_urlis the URL of the image. This is the URL we will use to get and display the image.image.descriptionis the user-provided caption of the image. May be used to show more context about the image.image.capture_dateis the timestamp of when the image was captured. This is used to sort the images by date. However, this field is not always present, so we will use theimage.upload_datefield if that’s the case.image.image_metais the metadata of the image. This is used to show more context about the image.
That’s actually all the endpoints we need to get the data we want. With this information in mind, we can now start building the webapp that shows the images.
I then build a minimal VSCO API client that can be used to get the data from VSCO.
webapp
The original photo-stream is a jekyll app. And by looking at the source code, jekyll looks like a very nice tool, but there are caveats that rendered the original app an unsuitable choice for me:
- The git based workflow, as explained before, is not for me. You need to basically fork the repo, add your images, and then push the repo to GitHub and then GitHub pages will build the site for you. This means that you will need to maintain a fork of the repo, and I’d rather not.
- I’m not even sure if GitHub pages will be able to build the site, and hosting providers that provide virtual machines are not my thing. I’d rather host my website on a serverless platform using JAMStack preferrably.
It was clear that I needed to build my own webapp, and in the ever-growing landscape of JavaScript frameworks, it was not easy to pick a choice. However, I ended up settling on Fresh, a preact framework optimised for Deno. This means that I can host the app on Deno Deploy and it will just work.
The webapp itself just fetches data from the API, and presents the images in a
nice UI stolen from inspired by photo-stream. It’s basically a
re-implementation of photo-stream in TypeScript.
Of course, I have made some minor modifications to the UI, but mostly they are the same concept.
You can find the website’s source code on GitHub.
flow
Now that the webapp is built, let’s look at how exactly it gets the images.
Now, we don’t have to add images to a git repo, so you might be wondering how exactly we get images for the photostream.
1. setup VSCO
You will need to create a VSCO account if you don’t have one already. An account is free, although you can pay for a subscription to get more features.
2. clone river
You now need to make a clone of river, then clone the forked repo to your local machine.
git clone https://github.com/vixalien/river2. get your site id
Remember that we use the site id (in contrast to username) to identify the user in the API. To get the site id, you need can run the following command in the root of the cloned app to know your site id. This is so we don’t have to always fetch the site id from the API.
deno task get-id <username>Remember to replace <username> with your username.
3. configure river
Now let’s configure the app. You need to create a .env file in the root of the
cloned app, and modify the configuration to your liking.
There is a .env.defaults file that contains all the possible
configuration values. You can refer to the file to add configuration files as
needed.
For example, here is the configuration of my site at https://memories.vixalien.com/:
# .env
TITLE=vixalienʼs memories
AUTHOR_NAME=vixalien
AUTHOR_WEBSITE=https://vixalien.com
DESCRIPTION=A few snapshots from a life that I probably lived.
URL=https://memories.vixalien.com
SHOW_RSS_FEED=0

ALLOW_ORDER_SORT_CHANGE=0

INSTAGRAM_USERNAME=username
CUSTOM_LINK_NAME=© 2024 vixalien
CUSTOM_LINK_URL=https://vixalien.com

# this is the only required configuration
USER_ID=281297126
Note that you should probably change the settings to reflect your own site. And
the .env file is ignored by git, so you don’t have to worry about accidentally
committing it.
5. run
Now that you have configured the app, it’s time to run it. Run the following command in the root of the cloned app:
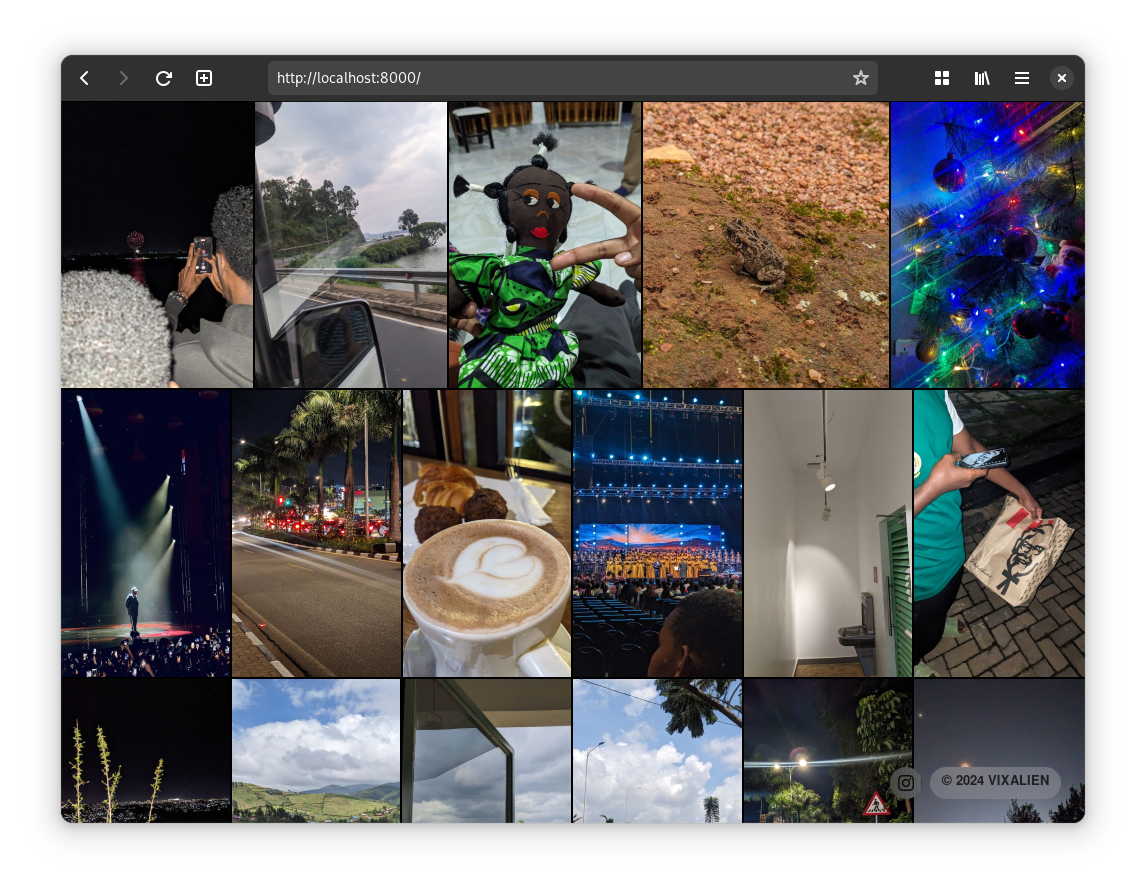
deno task startYou should now have a local server running at http://localhost:8000/ that shows your photostream, similar to the following
4. deploy
Now that you have configured the app, you can deploy it to Deno Deploy or any other provider of your choice. I’ll focus on Deno Deploy as it’s the one I used, and is free for my use case.
- Create an account at https://deno.com/deploy
- Clone river to your GitHub account
- Create a new project on Deno Deploy at https://dash.deno.com/new
- Connect your forked repo to the project
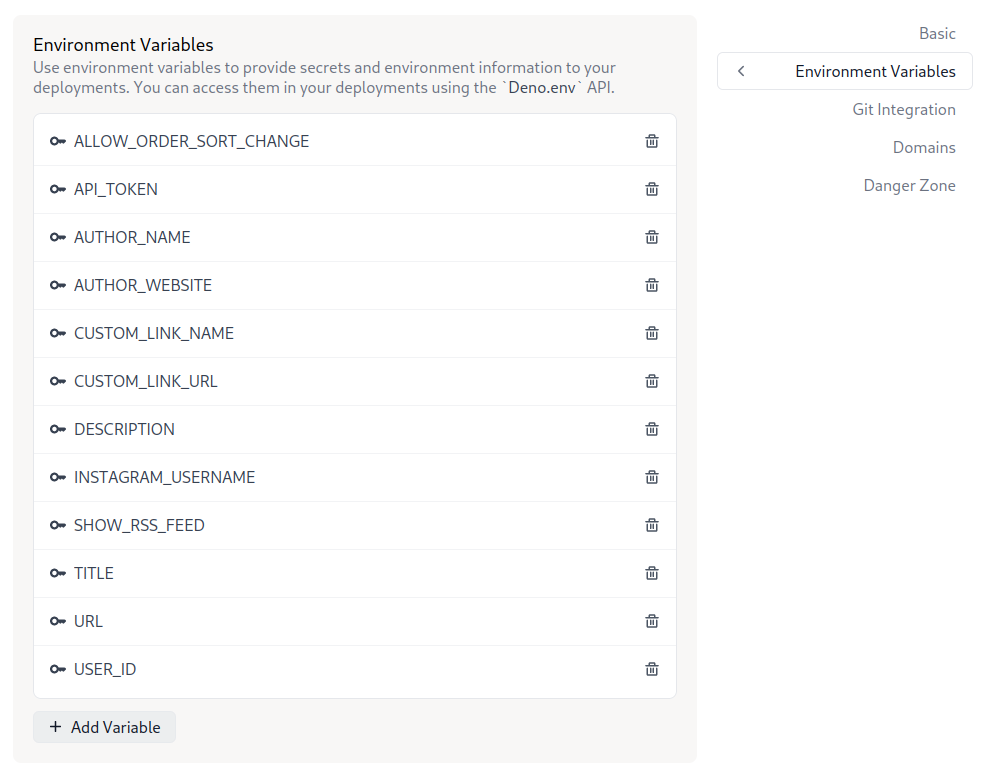
- Add configuration variables by going to Project > Settings > Environment Variables.
- Visit your project’s URL!!
conclusion
I hope you enjoyed this article. I know it’s a bit long, but I wanted to explain this (useless) little project of mine deeply. The next step is to fix some items on the todo list add more features to the app.
On the wishlist is supporting other sources of images, like pixelfed and maybe even Instagram. I also want to add support for videos, but I don’t have a use case for that yet.
If you already forgot, the source code of river is available on GitHub.
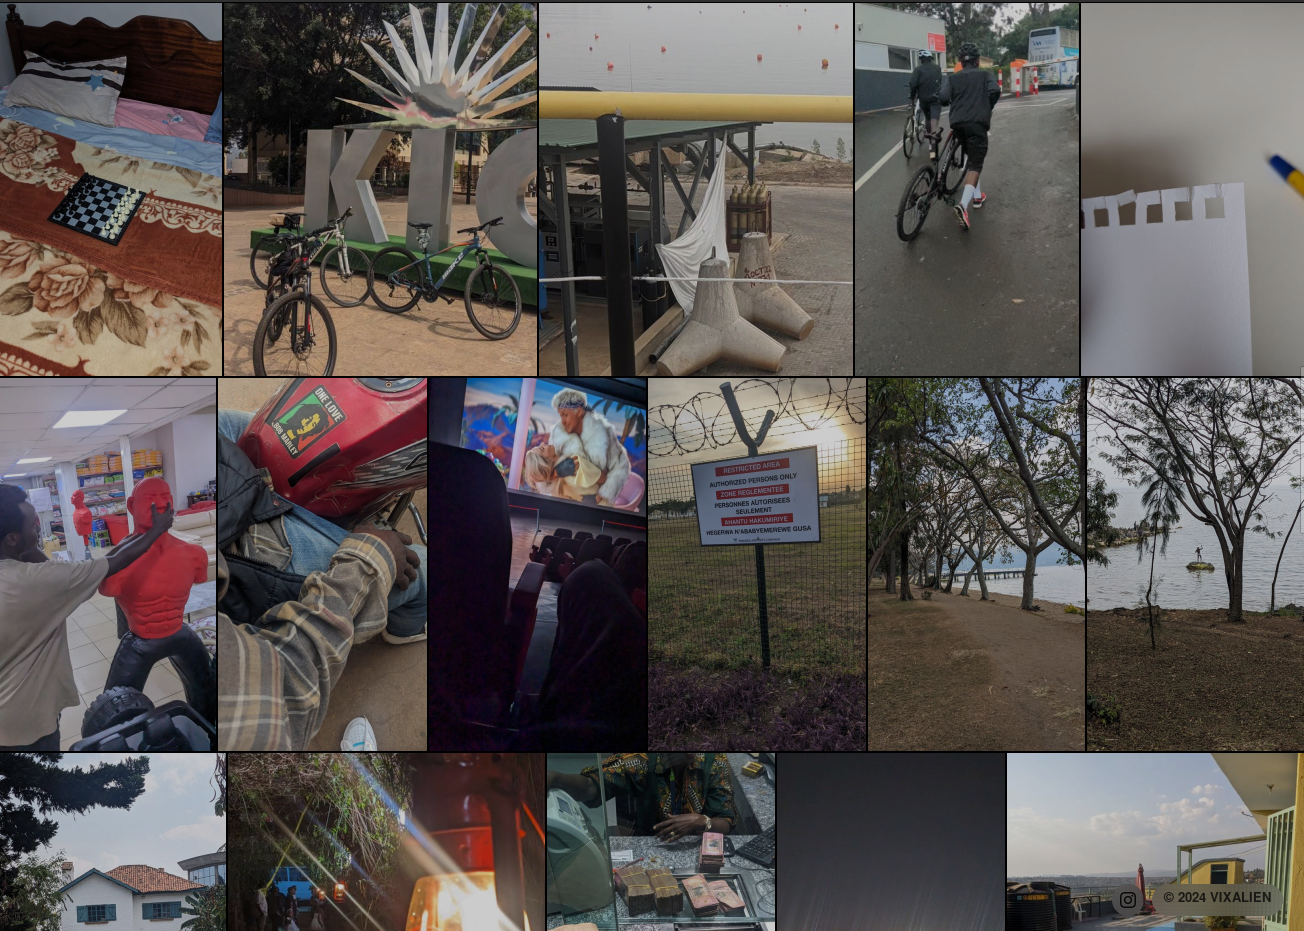
The source of the banner image is https://memories.vixalien.com